
Spring has finally sprung in my neck of the woods. And it’s about time, right?
Pollen aside (insert sneeze here), I do love this time of year when (among other things), my neighborhood Cherry Blossoms and blooms start to pop out from their long winter sleep.
I had Spring in mind when I created this colorful Floral Cake Stand and Charger project that definitely brings to mind the much warmer and flower-filled season ahead.
At the heart of this project is decoupage and its application to glass. Glass plates, in particular.
The beauty of working with glass is that it lets your design shine through, literally, which gives unlimited control over patterns and what you want your plate to look like.
You may be wondering right about now about food-safety for a project like this. I have more details on that a bit further down in this post.

Let’s start with these pretty floral guest towels. I’m sure you’ve probably seen these assorted paper towels before. I found mine at Home Goods, but they’re available at most big box store as well as online.
These towelettes typically come in two-ply, which allows you to separate the top layer from the bottom layer to reveal a separate sheet that is thinner, easier to work with and perfect for decoupage projects.
If using a decorative tissue with detailed or more individual prints in the pattern, be sure to tear, don’t cut, the pieces before decoupaging. This will create soft, feathered edges that blend seamlessly.
First step is to paint a thin layer of Mod Podge adhesive on the back of the plate (above left photo), and then gently place the patterned towelette, pattern side down (above right photo), directly on top of the glued surface.
You’ll see when you flip the glass plate over, your design will look smooth and glossy, as if embedded within the plate itself.
Because I was using a design with an overall floral pattern, no need for any cutting of the paper.
Once the towel is adhered, simply trim the excess around the edge of the plate.
Tissue paper is especially lovely for this because it becomes semi-translucent when adhered, giving the plate a finished look that is soft and dreamy.
Take a closer look at the top edge of the plate in the right-side photo above. That more transparent section does not have any paint coverage yet, unlike the area directly below it, which has a layer of ivory paint.
In this case, the ivory color paint allows the florals to really pop and shine.
Once the paint is dry, you can seal it with a clear sealer, acrylic coating or glass finish or varnish. You can find all of these sealers at most crafts stores.
By the way, I found the plain glass plates and this jar at the Dollar Store for $1.25 each.
Add the floral paper to the inside of the jar in the same way the paper was added to the back of the glass paint.
Then, apply super glue to the top edge of the jar, and position the bottom of the plate on top of the jar.
Be sure to make sure the center of the plate is lined up with the center of the jar before adhering.
Set cake stand aside and allow to dry and full adhere overnight before using.
One thing that may be evident in these photos, is the rough look around the edging of the plate. Some of that is the paint, other areas represent the rough edge of the paper.
You can eliminate this rough edging by using an emory board/nail file to gently file the paper and paint under the edge of the plate. I didn’t photograph it but, you can also take a gold leaf pen found at most crafts stores, and add a thin layer of gold color around the bottom edge of the plate.
NOTE: It’s very important to keep any gold paint, sealers and paint on the backside of the charger, where no food will come in contact with it. I have more on food safety for this project a little further down in this post.
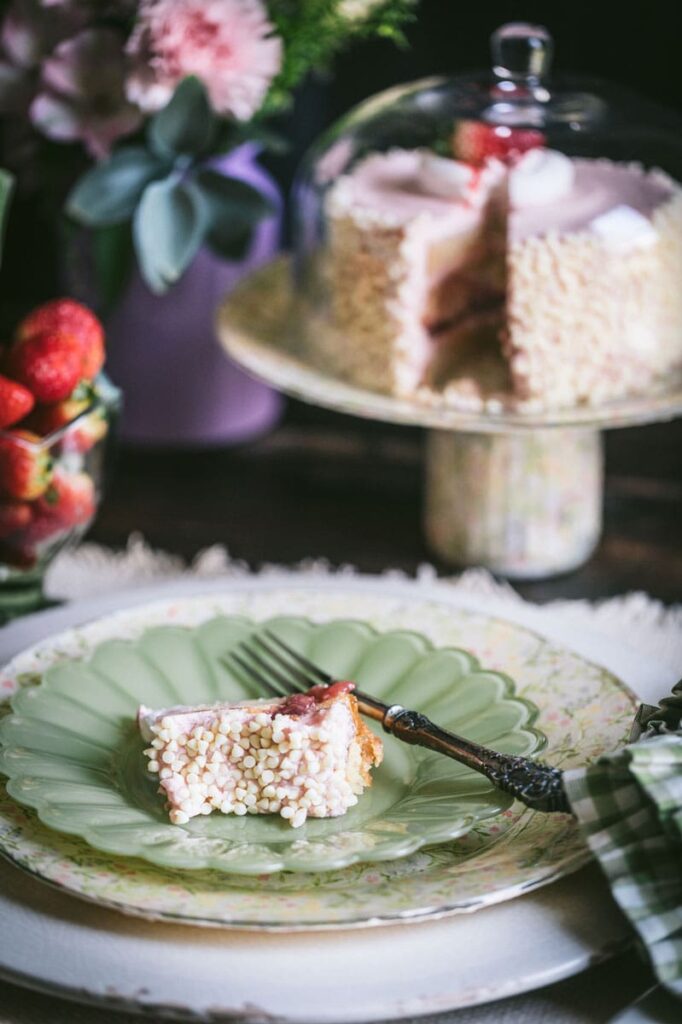
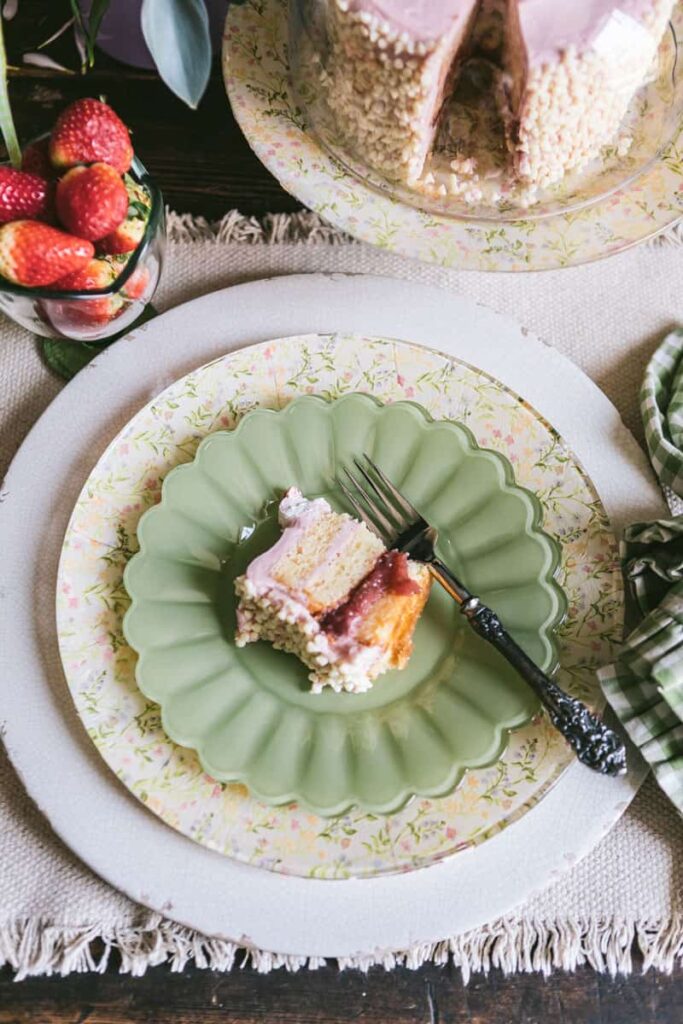
How pretty does this look at a charger, along with the the light green glass, scalloped dessert dishes?
Meanwhile, I continue to work on my food-on-the-move videography series, and I’ve included the following video featuring this Floral Cake Stand and Charger project for your viewing pleasure.
You can watch the video fullscreen within this post, or you can click over and watch it full screen over on YouTube. If you opt to watch this video on YouTube, please consider subscribing to my channel, as I continue to try to grow my audience on that platform too.
Now, let’s talk about a very important part of this project, and that has to do with food safety.
Since this design lives on the back of the plate, the front surface remains food-safe, as long as you keep it that way. Since these should be used as chargers, any food is separated by a different plate, like a dessert plate in this case.
Still, you want to keep food safety in mind at all times. That means no decoupage medium, glue or sealant or paint should touch the top side of the charger to avoid coming in contact with the actual eating surface.
If you want a little extra peace of mind, look for sealers labeled as “food safe once cured”, but these mediums are typically intended for indirect contact with food, not for surfaces that will be cut on, or heavily washed.
This kind of decoupage on glass plates, really is for decorative purposes only.
To clean the charger and cake stand, I recommend simply wiping them clean on the surface only. Please don’t submerge either piece completely in water to avoid impacting the sealer on the backside.
While I paired a checkered napkin with this set, imagine how cute your table would look using the same decorative towelettes that match the pattern on the chargers.
The guest towelette packs typically come packaged with up to 32-individual towels.
So, there are plenty to use as part of the table setting, if you choose.
Looking back on this project, I think I could have been a wee bit more careful about using my emory board or fine grit sandpaper to file the edge of the plate to make sure the glass edge is smooth and free of any visible painted areas.
That’s definitely something to keep in mind for future reference.
Meanwhile, if you have time, check out a few other floral-inspired projects and posts via the links below.
The cake featured in this post is a store-bought version but I think I’m going to try to bake up one just like it.
Meanwhile, I hope you’re inspired to give this Floral Cake Stand and Charger project a try.
Thanks for popping by.
Happy Spring and see you back here next time.
xoxo
I love this, Lisa, and I am always mesmerized by the beauty of your expertise and creativity. Stunning photography! Thank you for sharing!
Thank so much for your kind words, Sherry.
I truly appreciate that.
Happy Spring to you, and happy baking too.
xoxo
What a lovely craft! Looks easy enough for me to do. :o) The cake is beautiful, too. Have you ever shared the recipe?
Oh, I hope you give this project a try, Tammie. Super easy.
Meanwhile, I wish I could claim the cake as my own.
I picked that beauty up at my local Fresh Market bakery-lol.
But I’ll bet you could make it. The little ivory dots around it are tiny chocolate!!!
xoxo