
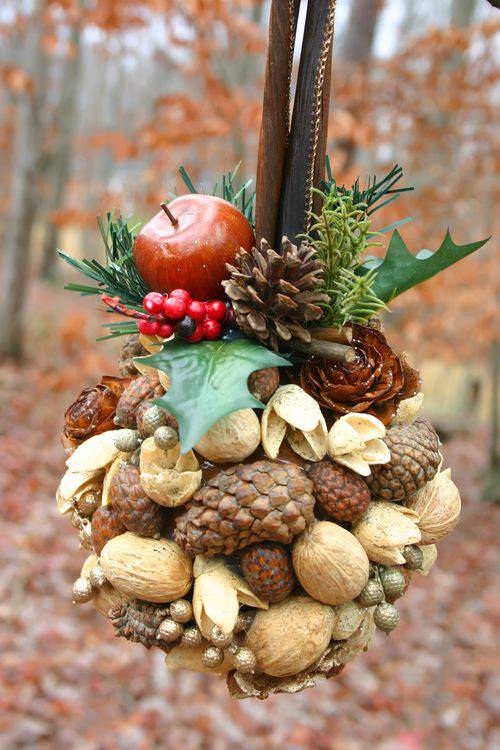
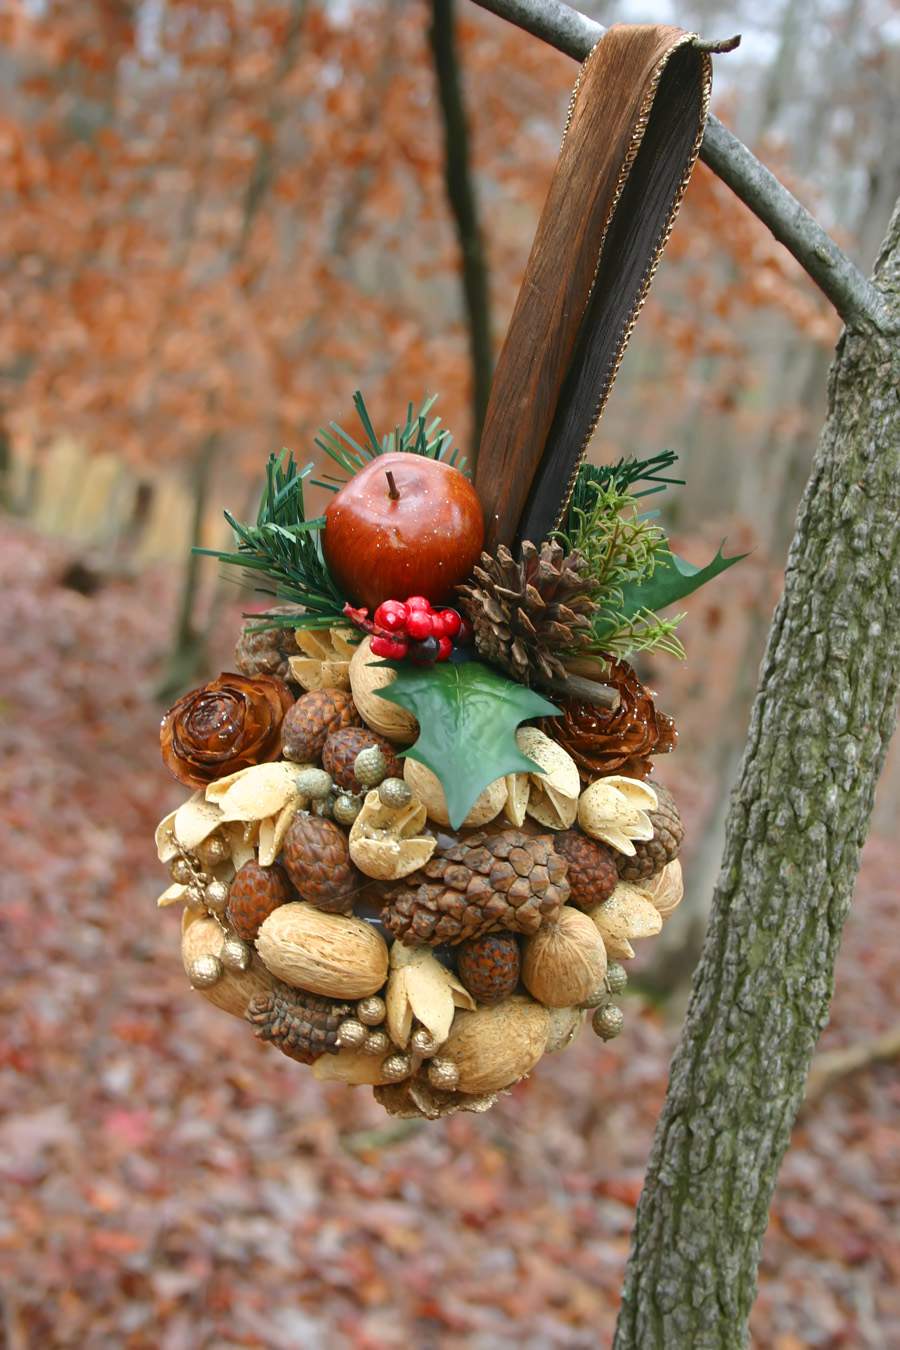
Have you ever seen those hanging holiday balls, suspended by a pretty ribbon and covered in cranberries?
Well this is my twist on that idea with fragrant, natural botanicals substituted as the main ingredient creating a unique and unexpected addition to holiday decor.
This project is called a kissing ball and it can be made out of any number of embellishments including artificial fruit, florals, evergreens, cranberries and as you can see, pinecones and assorted nuts. You’ll also need a hot glue gun.
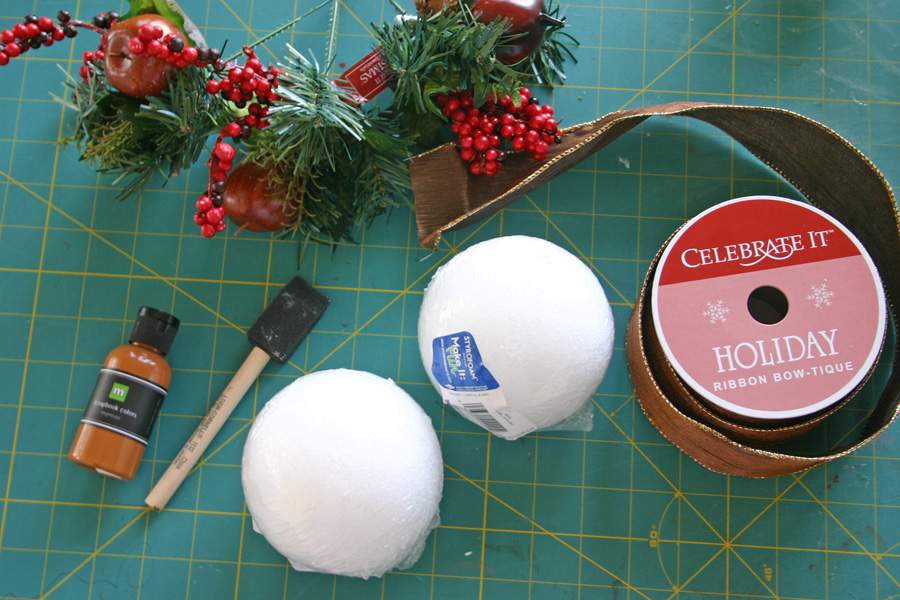
For my project I used a Styrofoam ball, acrylic craft paint and a few wreath florals which are typically attached to a wire stem.
The adornments help set the tone for the overall appearance. I choose these dried fruits and botanicals because I love the natural color, the texture of the pieces and their earthiness.
You can find bags of these botanicals in the floral department of most craft stores.

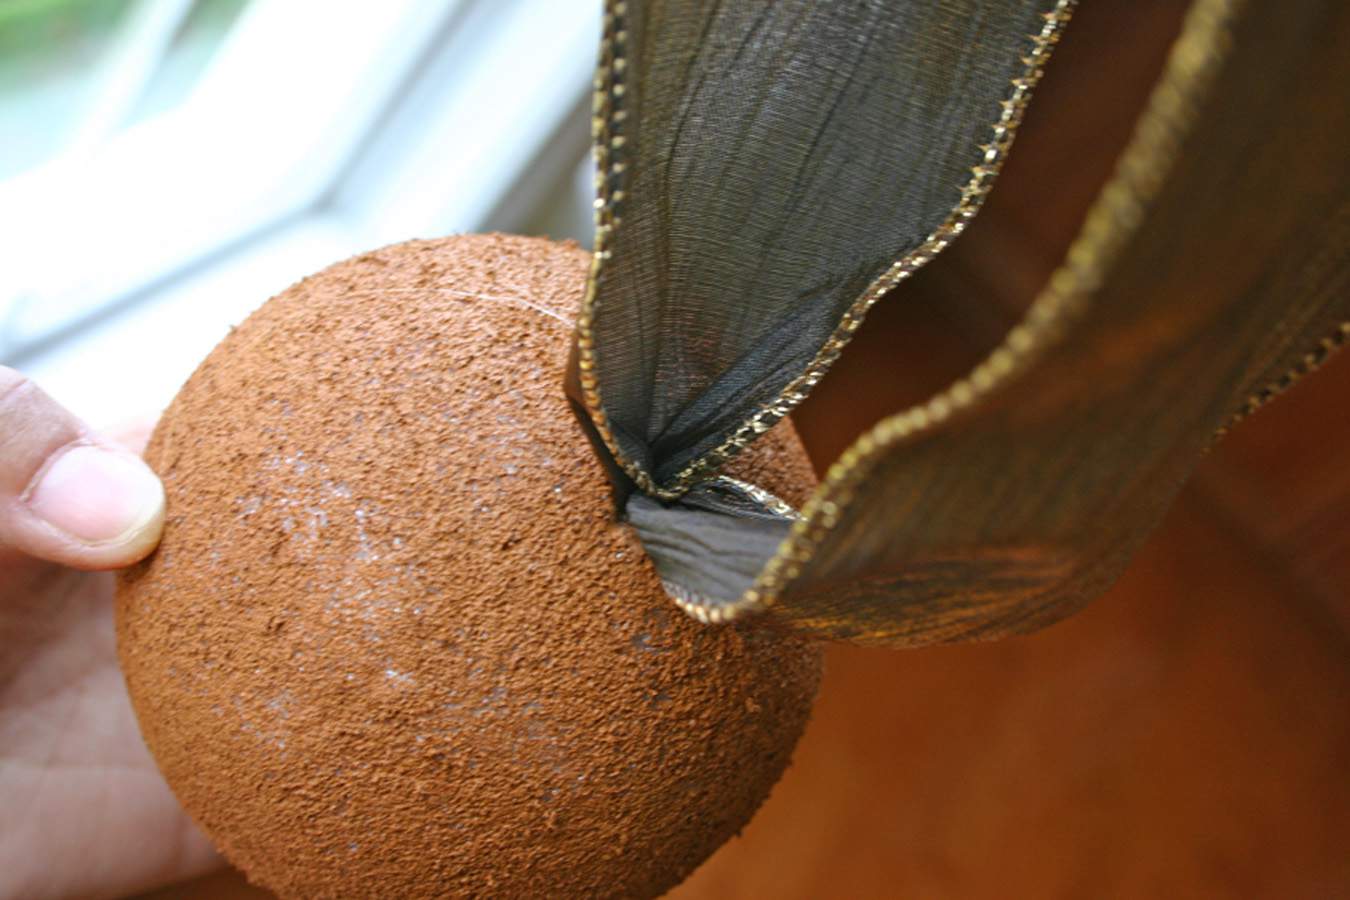
First step is to completely cover the Styrofoam ball with acrylic paint. This is an important step because the irregular shapes of the the adornments may not fit together perfectly like a puzzle piece.
You definitely don’t want to see white Styrofoam peeking through so the paint helps conceal any gaps in the arrangement.
TIP: A plastic fork is a great way to hold the Styrofoam ball in place to prevent it from spinning while painting.

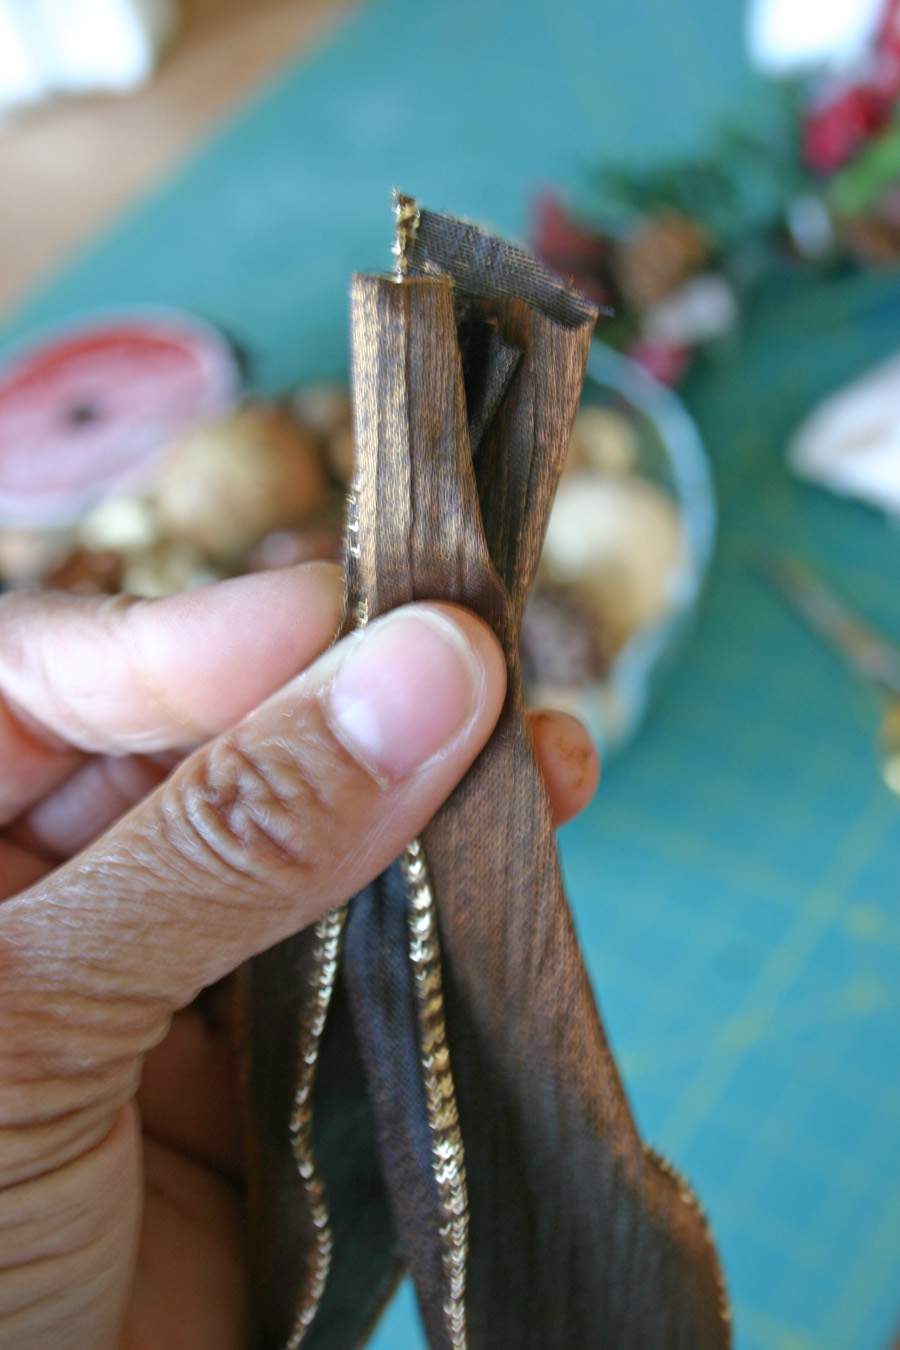
Determine how much of a ribbon loop is desired and cut accordingly. The loop size will vary depending on the size of the Styrofoam ball.
Remember your embellishments will increase the overall size of the ball when finished so keep that in mind as you cut your ribbon strip.
I used a 4-inch Styrofoam ball and cut a 14-inch strip of ribbon which creates a 6-inch finished loop when folded in half. 1-inch of ribbon on either side will disappear down inside the ball.
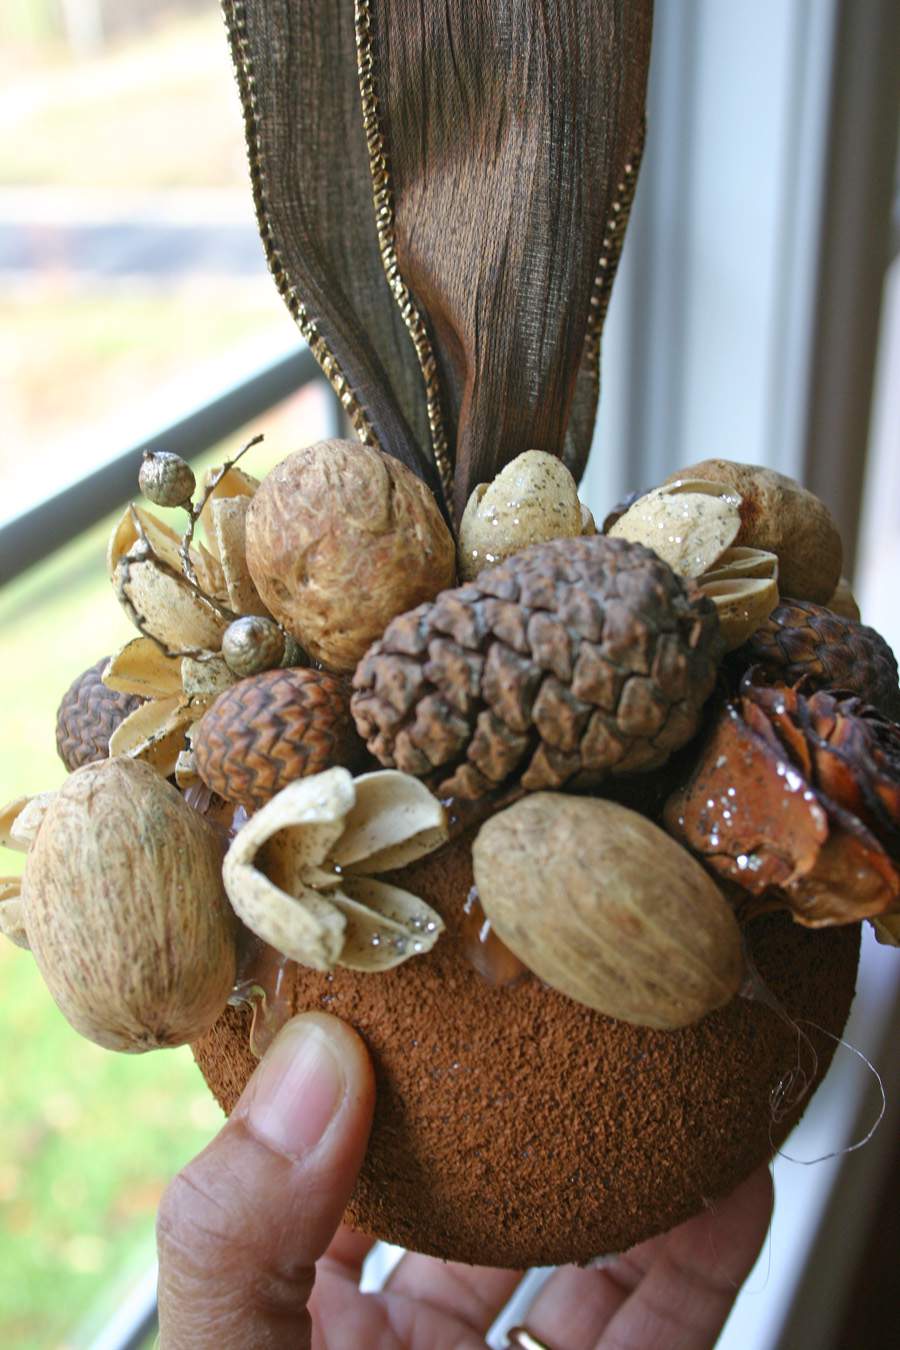
Use the flat end of the plastic fork to carve a small hole into the top of the Styrofoam ball about 1-inch deep.
The hole doesn’t need to be very wide, just big enough for the two ends of the ribbon to fit down into. Any opening will be completely covered up the various embellishments are added.
Fill the hole about half-way with hot glue and then immediately push the two ends of the ribbon down into the hole.
Once the ribbon attachment is dry and securely in place, use the glue gun to begin adhering the botanicals to the Styrofoam ball.
By the way, the construction of this project is very similar to the apple topiary project I featured a while back which you can see if you click here.
Before covering too much of the top of the ball, add the decorative florals.
Rather than stick the wire stem down into the ball, I recommend cutting the pieces off the stem and hot gluing them in place to ensure consistent coverage of this element all the way around the ribbon.
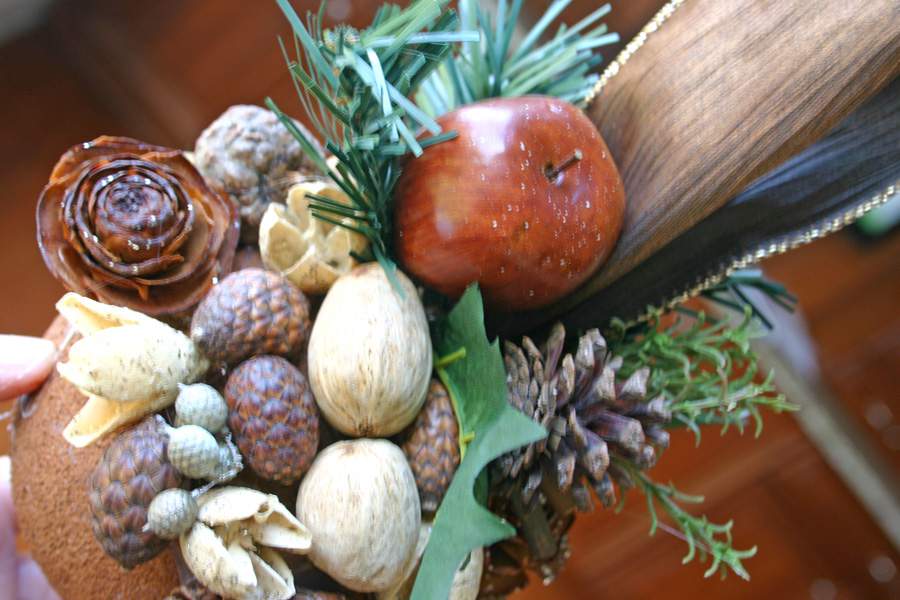
When attaching the botanicals make sure you adhere them in a way that maintains a consistent, even-roundness to match the shape of the ball.
I really like like the way this greenery and the tiny splash of red from the berries helps to break up the all the neutrals in the other adornments.
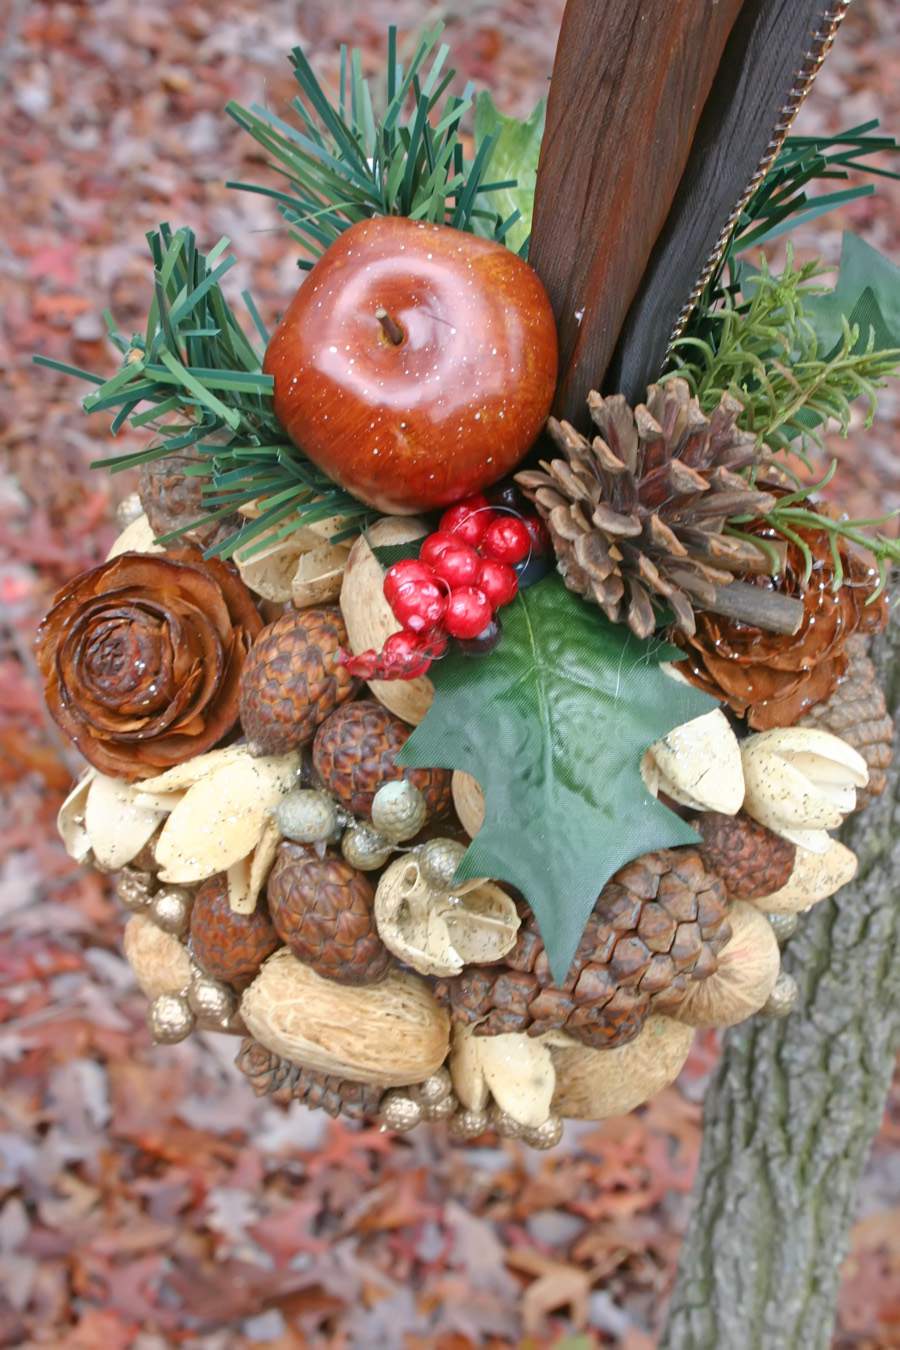
Kissing balls, like mistletoe not only help mark the holiday season but traditionally symbolize a warm welcome when hung in the entry or doorway of a home.
Their legend also suggests those who walk under them are universally granted health, happiness and good luck in the new year.
Of course while good fortune will likely befall those who walk under these decorated orbs, as the name suggests-this holiday kissing ball may also get you a few smooches this festive season.

Lisa,this is so cute! I love it! Thanks for the tip about the plastic fork. I’m about to do a different project with those balls and the fork will really help me!
Manuela
This kissing ball is really beautiful! I love all the natural materials, and the lovely ribbon is a nice touch. I think this would make a wonderful holiday gift, so I’m headed to the store for supplies. Thanks for sharing!
Beautiful! I love the warm earthy feel to it. Thanks for the tutorial!
Thank you! *smooooooch*
Now I know what I can do the next time me and the kids are feeling crafty!
Absolutely beautiful!
This is a great take on the Mistletoe idea & way more beautiful than a sprig of plastic leaves hanging above the doorway {what we had in our home when I was a child!} Can’t wait to try it out!
Hello Dear Lisa!
This ball is beautiful! I most certainly will be making this pretty kissing ball right away. I love it! Thank you so much for the tutorial. You are amazing!!:o)
Smiles…
Beverly
That’s gorgeous! Thank you so much for sharing how to do this!
I love it Lisa!
This holiday kissing ball is lovely.
Hello, Lisa, thanks for visiting my blog. Your kissing ball is beautiful. I love the idea! Just this morning I passed the florist and was wishing I could buy a little box of their mistletoe, but it is toxic to cats and I have two at home. The kissing ball is an excellent substitute.
Yes, I know what a holiday kissing ball is, but I really love your fresh twist on this!! Just beautiful!
Very pretty Lisa! Thanks for taking the time to write up the instructions!
What a great memory … my grandma always hung a kissing ball in the entryway to her kitchen … love the neutral tones with a pop of red.
This is lovely – and thanks for the tip on the fork! Never thought of that.
I love this idea! Also looks like one of those projects I could make for the birds outside to eat from.
Brenda
SO creative. What a good Idea. Thanks for sharing.
Very pretty! I have one that is a music box that belonged to my Mother.
Beautifully done Lisa! Great project!
Guess what I’m going to be doing this weekend? Thank you Lisa for such a great project! I hope mine comes out as gorgeous as yours! 🙂 chris
This is absolutely adorable Lisa! As always, your projects are amazing!
What a gift you are! Thanks for sharing.
My love to you and the family. D.B.
Superb collections specially all red pictures.. thanks for posting such a beautiful blogs