
When I first considered posting this project I wondered if anyone would really be all that interested in an ironing board cover. I mean really, how sexy are ironing board covers? Not very.
My reluctance to share this topic eventually gave way to my desire to share another example of how new life can be breathed into an old object, making it look better than ever before.
Take a look at the before version of this ironing board in the photo below. I bought this mini board at a store closing for just five dollars several years ago. While I loved the small size it was the bargain basement price that tipped the scale and enabled me to look past this ghastly black and white fabric cover.
Meantime, in my never-ending quest to re-purpose items where I can, I figured this mini board was a sorely needed target.

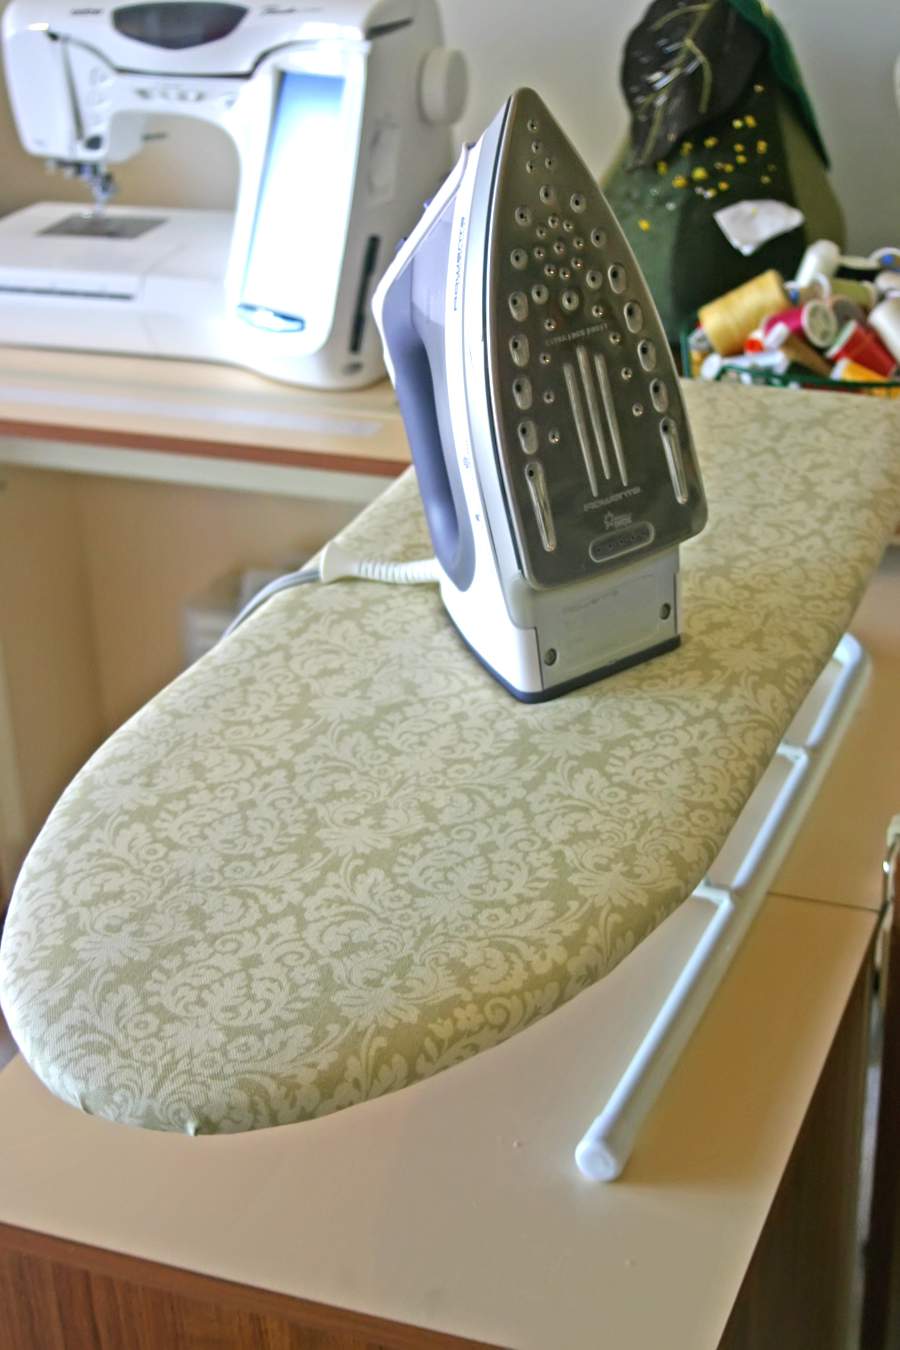
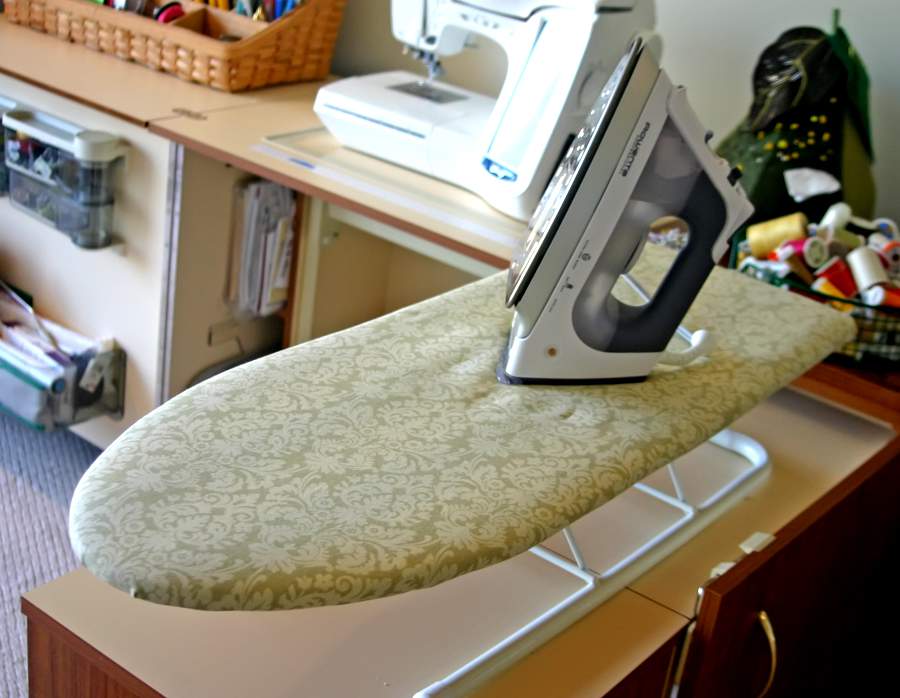
I settled on this pretty sage green and cream fabric with a wonderful acanthus pattern. This is an upholstery fabric which makes for a heavier, more durable ironing surface.
I really love working with upholstery fabrics, especially ones like this that have the texture of thick canvas.
Two tools are all you'll need for this project. Just grab a screwdriver (a Phillips in this case) and a staple gun. It doesn't get much easier than that, does it?
By the way, if you don't already have a staple gun, it really is a good item to have in your tool stash. Staple guns are inexpensive and you'll find a ton of uses for them too.
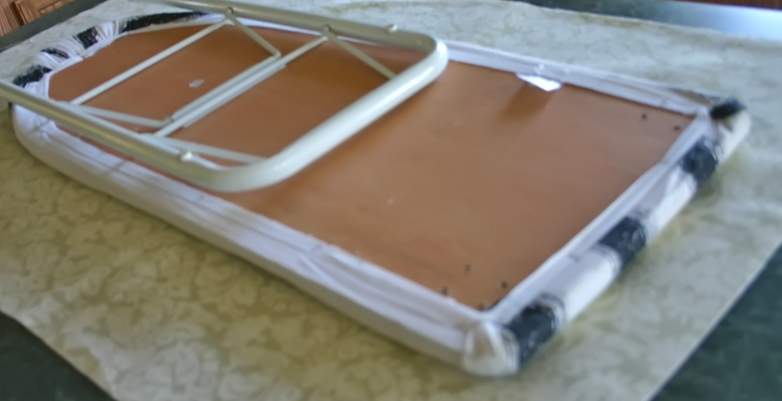
The first step is to remove all the hardware from the bottom of the old ironing board. I always put the hardware and screws in a little paper cup to keep track of them.
There's nothing worse than losing a tiny screw for something like this and wasting time turning the room over to find just one little piece of missing metal ( or trying to match up a lost screw at the hardware store).
Lay your fabric out flat and then place the board on top to determine how much fabric to cut. This project required just a bit more than 1/2 yard of fabric. Make sure you cut enough fabric clearance to fold over onto the back of the board all the way around.
If you're not sure, it's always better to cut more fabric than you need initially. You can always trim the fabric down later.
Corners can be kind of tricky and I always fold those first. To create a mitered corner, fold the point of the corner over first toward the board creating a 90-degree fabric angle. While holding the miter firmly in place, turn each surrounding side of fabric over to meet that first fold-over. Make sure you don't cover the original screw holes with the fabric.
You also don't want an overly thick fabric edge so if you have an excess of fabric at this point, just trim it down a bit and begin the folding process again.
Before stapling, hold the miter in place and then turn the edges slightly so that the raw fabric edge is not exposed. This creates a nice clean and neat looking finished edge. Then staple the finished edge in place.
Repeat the same mitering technique on the remaining corners. Make sure you pull the fabric tautly as you proceed.
Don't skimp on the staples because they really help keep the fabric in place all the way around the board and that helps prevent future fabric puckering on the ironing surface.
After all fabric is stapled in place, simply reattach the hardware to the board and you're done.
Sometimes a mini ironing board is all you need for small sewing projects. It's great to finally put this board to good use instead of having it tucked away and wasted in some dark closet.
In my continuing attempt to organize my workspace, I have vowed to use more of the supplies that I already have, purge and donate those items that I will never get around to using and re-purpose old items like this.
As you can see in this case, the end result is not only attractive and useful-but what's old is new again.
Another terrific project. I’m really interested in your iron. I did a post a little while back about drippy irons…apparently I’m not the only one with iron issues since I received 50+ comments.
http://loftcreations.blogspot.com/2009/04/sensitive-subject.html
Do you love your iron and what brand is it? I think I want a stainless steel bottom for easier cleaning for the oops moments with fusible materials.
This really looks great! I NEED a new ironing board cover lol. Wanna make me one too!? LOL
just fabulous lisa, and such neat workmanship too. i’ve been meaning to do the same to my small ironing board i have in my sewing room….it’s in desperate need!
thanks…you’ve reinspired me.
julie 🙂
What is it about a new ironing board cover that perks up one’s spirits? (One more of Life’s mysteries). It’s just what is needed to make my ironing/sewing corner more inviting to work in.
Great tutorial! Nothing like breathing new life into an old object.
Your ironing board looks terrific! Thanks for sharing your steps 🙂
Love those little ironing boards..perfect for crafts and your new cover is great! easy project too!
Your “new” ironing board looks great! I’m very embarrassed by mine, I really need to recover it! Thanks for all the photo’s.
This is something I can relate to making. I need a new cover too. I have a board just like that one I bought from Ikea. I make have to take some tips from you.
Keep up the good work!
nice job. it sure will make ironing more of a pleasant task.
Excellent. It makes me wish I had a wooden ironing board to recover.
Great idea, Lisa. I need a new (and pretty) ironing board cover. Your craft room looks wonderful.
What a fantastic yet simple project! I really need to recover my ironing board with a pretty fabric. I just hate the old stuff that is on my board now! Thanks so much for the idea.
I have wanted a new ironing board cover forever! I haven’t yet started working on my little laundry room, but when I do I want to coordinate my ironing board cover 🙂
Happy day!
Melissa
Great post! I’ve been thinking a lot about re-purposing things I already have and making them work…need to get busy, thanks for the inspiration!
very nice indeed….have to get a new cover for my big ironing board, just might do my own cause the ones they sell out there are just darn sh**y LOL.
That’s so cool Lisa! You always have the best ideas!
I haven’t taken pics yet but I recently recovered my ironing board and also gave it a fresh coat of bright paint, too. It makes me smile when I see it. How dorky is that? LOL!
What a great change!
i love this idea. Makes me want to look around ,y crafting space and see what need sprucing up! Thanks for sharing this project.
Awesome idea and a lovely cover! I need to reorganize my entire apartment if I weren’t so busy with other things. 😀 Like procrastinating..
how absolutely cool! it looks easy enough for me to attempt! 😀
OK, I will not be able to look at my ironing board again until I receover it, it is looking pretty bad! Thanks for sharing! You make it look so easy and yours looks so neatly stapled!
I need to do this. Except my board isn’t wood it’s metal. HMMMM what to do what to do. . .
Hi Lisa,
I am still trying to make the project Make Scents, I bought the same stamp as you, the sweet little girl and a few others. I can’t get a good image to show up. Any thoughts? Maybe it’s the ink. I love your blog. Your kids are growing up. they are still so cute.
Take care
your fellow crafter,
Nanette
OMG Lisa this is a great idea and as much time as i spend with my board and iron, this is the best idea! i will try it!
This is really awesome and pretty cool.
I saw various designs on google ttoo much pretty though.